
文章目录[x]
- 0.1:零、简介
- 0.2:一、准备
- 0.3:二、安装blenderGis
- 0.4:三、使用在线服务生成模型
- 0.5:四、使用离线数据生成模型
零、简介
blenderGIS是一个blender的插件,可以让用户使用在线/离线数据在blender中生成真实的三维地形。该插件由domlysz开发,在GitHub上开源。
一、准备
1. 安装blender,使用的版本是3.1,最低版本v2.83。
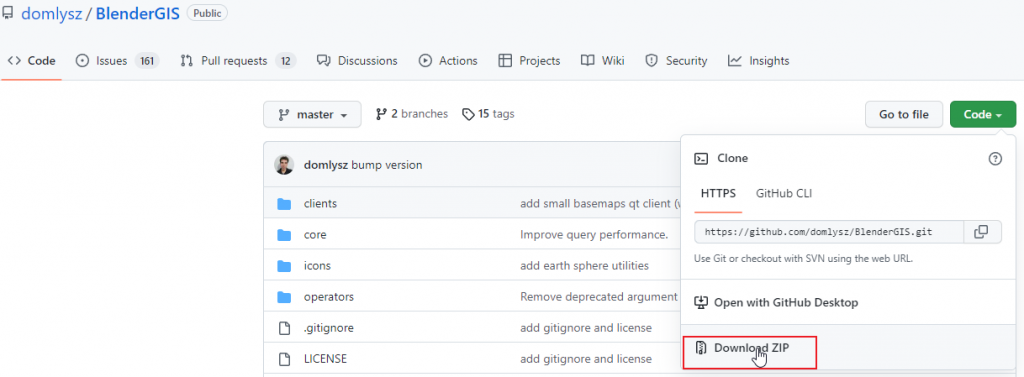
2. 下载blenderGIS,地址https://github.com/domlysz/BlenderGIS。
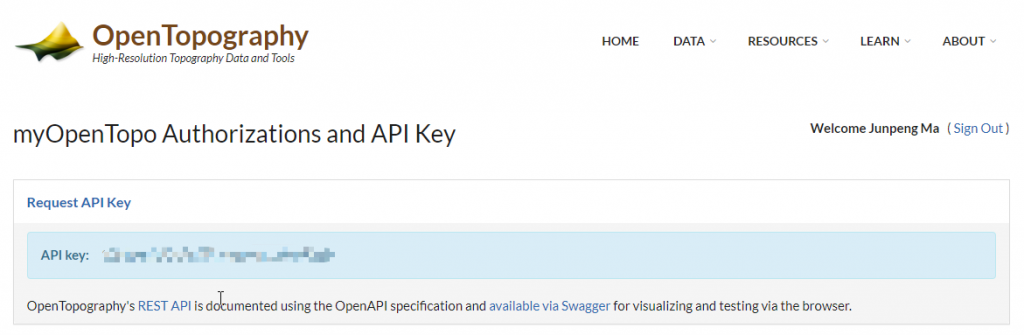
3. 在高程服务网站上注册账号和申请Key https://www.opentopography.org/。
二、安装blenderGis
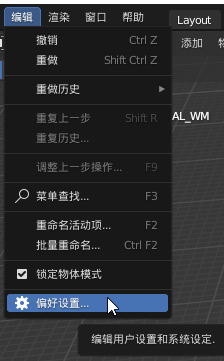
1. 运行blender --编辑--偏好设置。
2. 找到偏好设置--插件--点击 安装会弹出 查找安装文件的窗口--找到我们刚刚下载的ZIP文件,注意不需要解压。
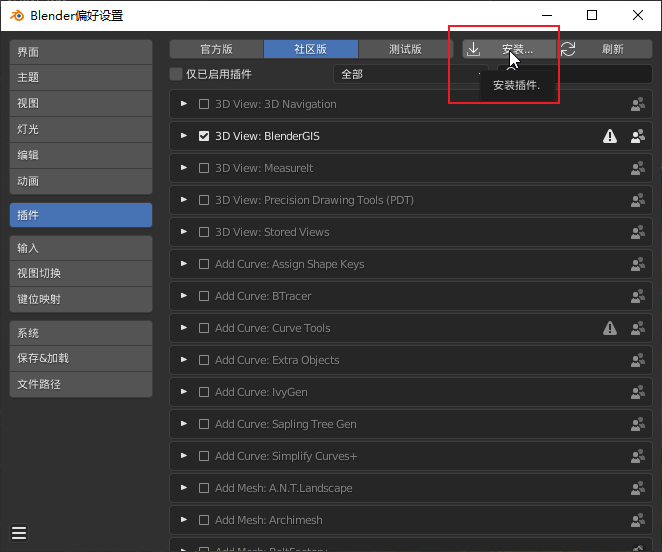
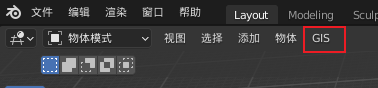
3. 当安装完后,点击插件显示的对勾,启用插件。这时会在视口左上角多出一个GIS的菜单。
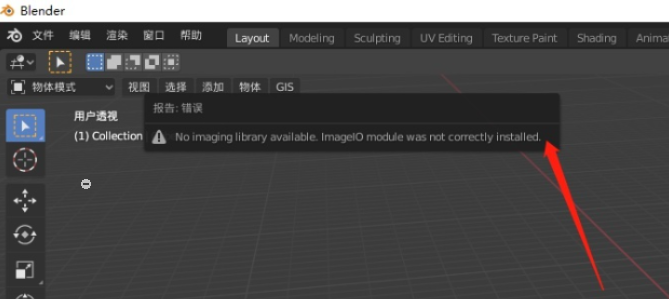
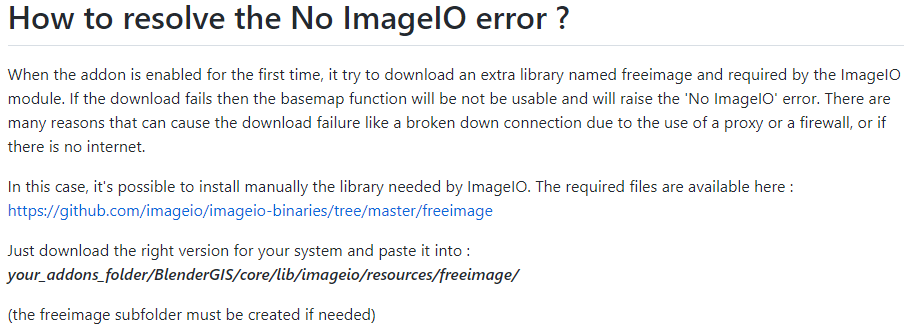
4. 解决No ImageIO error,在blenderGIS的FAQ中有解决该问题的方法。https://github.com/domlysz/BlenderGIS/wiki/FAQ
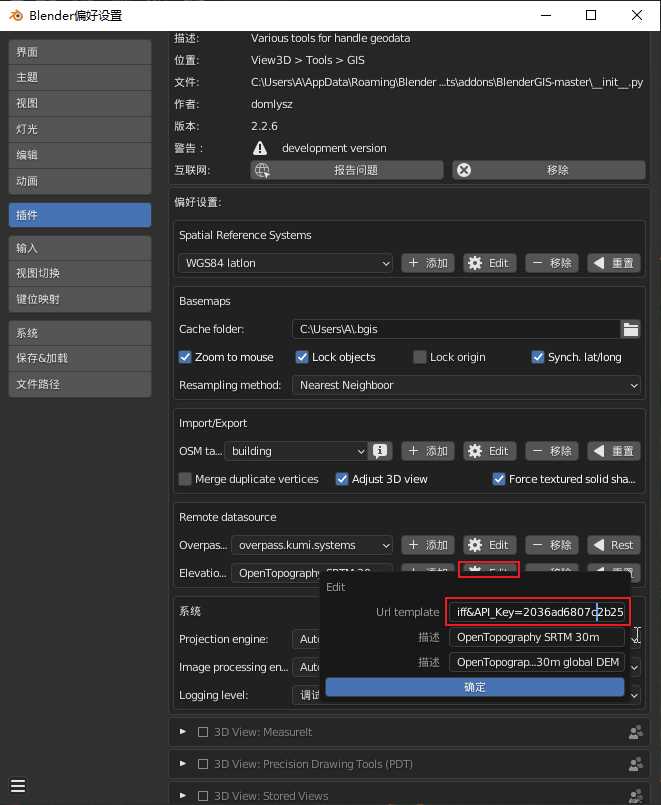
5. 配置高程服务key.找到偏好设置--插件--3D View:BlenderGIS--Remote datasource--Elevation server--Edit,在后面追加&key=你在opentopography申请的key。
三、使用在线服务生成模型
1. 打开blender,删除场景中的默认物体。
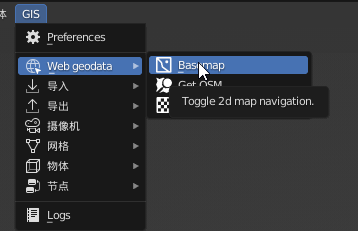
2. 在3D视图窗口,点击GIS图标 --web geodata--basemap。
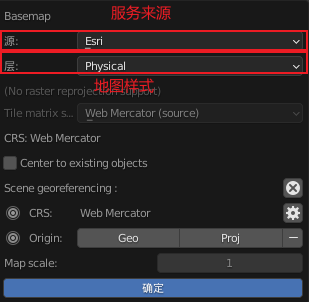
3. 选择地图服务和地图样式(Google服务没有科学的话打不开,Eris或Bing都可以,Eris速度更快一些,并且地图层级更多),点击确定后会在场景出现地图,如果没有出现使用鼠标滚轮放大一下。
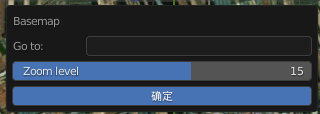
4. 鼠标滚轮放大/缩小地图、鼠标左键拖拽移动地图位置,最终生成卫星影像的范围就是窗口的范围。按‘G’键出现搜索窗口,按‘E’键表示确定。
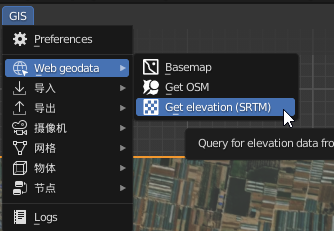
5. 上面的操作得到的是卫星影像,接下来要获取该区域的高程。在3D视图窗口,点击GIS图标--web geodata--get elevation(SRTM)。
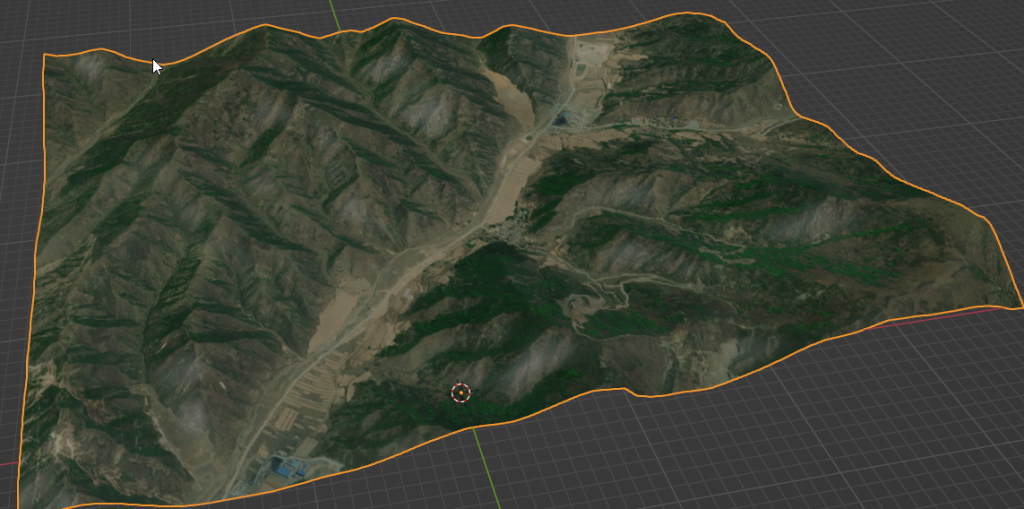
6. 经过上一步操作,把平面变成了有起伏的模型(山区明显、平原不明显,主要是高程数据精度要比影像精度低)。
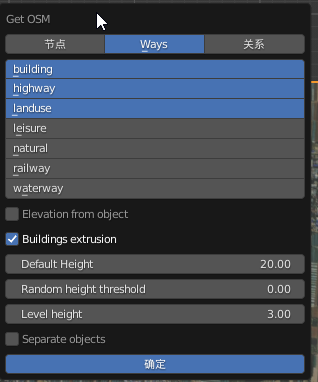
7. 从OSM(open street map)下载该区域的建筑、道路、绿地、水域等模型,国内城市的数据比较少,一般只有大城市才有。

8.步骤总结:1.下载地图影像 2.下载高程数据生成起伏地形 3.下载OSM数据生成细节模型。
9. 选择地图区域范围的时候不要选择的范围太大,范围过大的话无论是下载高程还是OSM数据都会出现失败,一般地图的缩放层级不要小于15。因为是在线数据,下载需要时间,有时候需要等待。国内的OSM数据不全面。
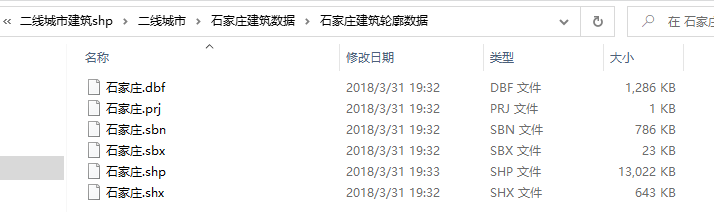
四、使用离线数据生成模型
如果我们提前准备好了gis数据,blenderGIS可以从文件加载数据。支持的类型包括(.shp .tif .osm .asc等),使用.shp可以生成建筑、道路等模型,.tif生成地图影像。我们也可以在blender中导出shp文件,提供给其他软件使用。
B站相关教程:
- https://www.bilibili.com/video/BV1bE411q7rM?t=49.3
- https://www.bilibili.com/video/BV1M64y1F78f?t=3.5
- https://www.bilibili.com/video/BV11i4y1f7xZ?t=9.0